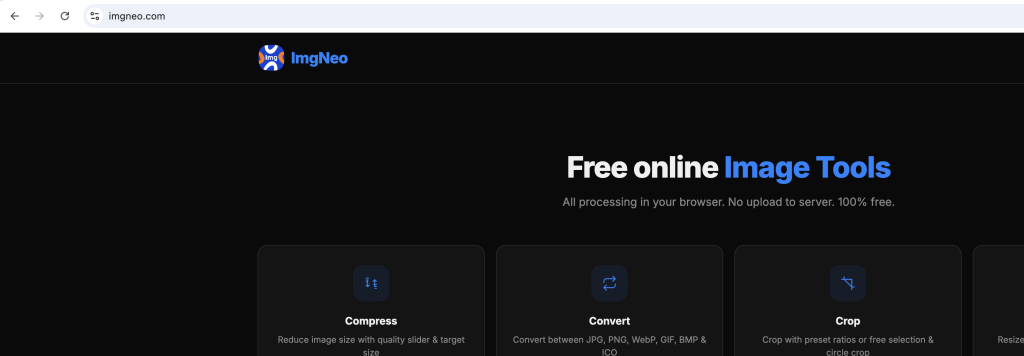
Need to blur a face, pixelate sensitive info, or soften part of a photo? ImgNeo Blur & Pixelate lets you blur or pixelate the full image or paint specific areas — right in your browser, no signup, no software.
Why Blur or Pixelate an Image?
Privacy protection, content compliance, and creative effects. Blur or pixelate faces in public photos, redact personal information in screenshots, hide license plates, or add a soft-focus background. It’s the quickest way to make an image safe to share.
How to Blur or Pixelate an Image
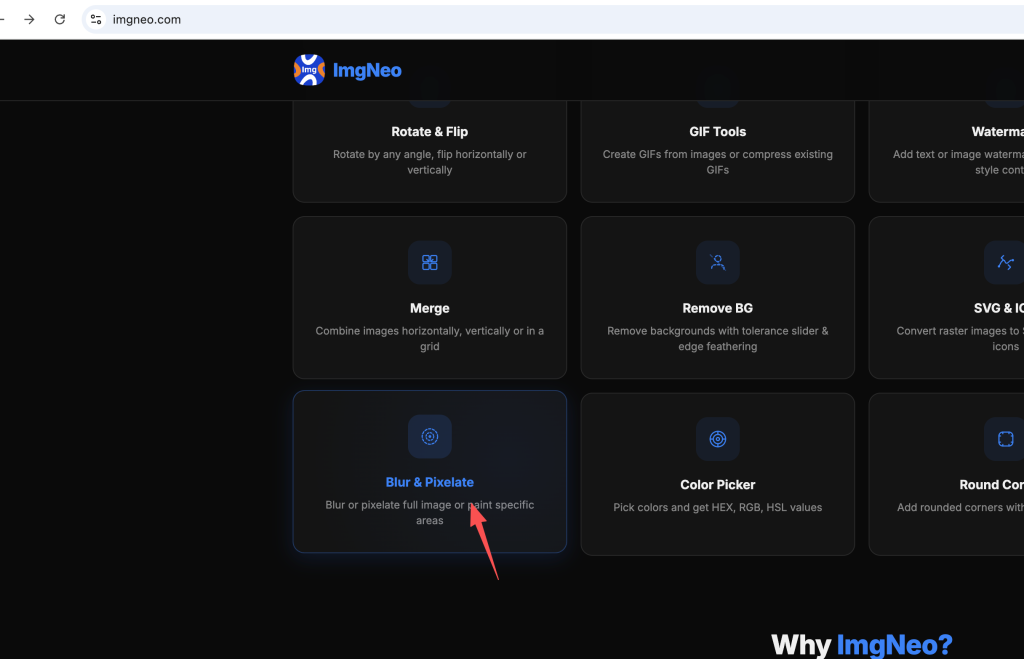
Step 1: Open the Blur & Pixelate Tool
Go to imgneo.com/blur-pixelate. No account needed.
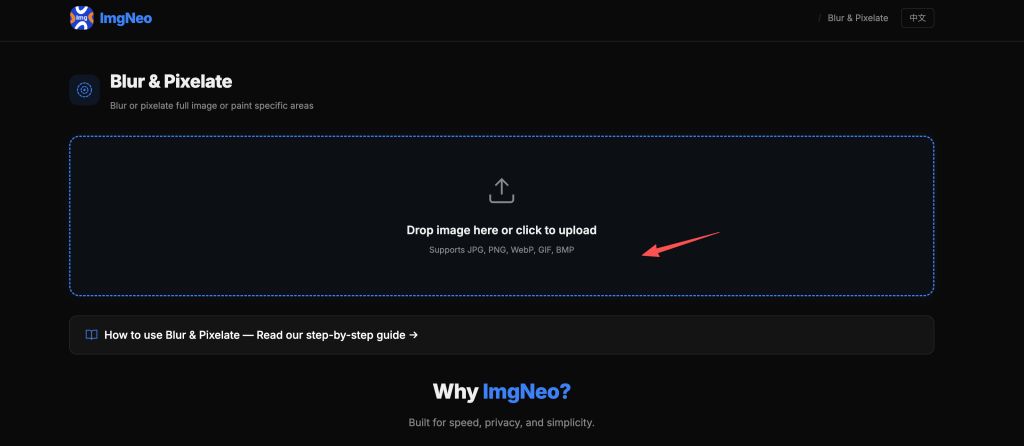
Step 2: Upload Your Image
Drag and drop your photo, or click to browse. Supports JPG, PNG, WebP, GIF, BMP.
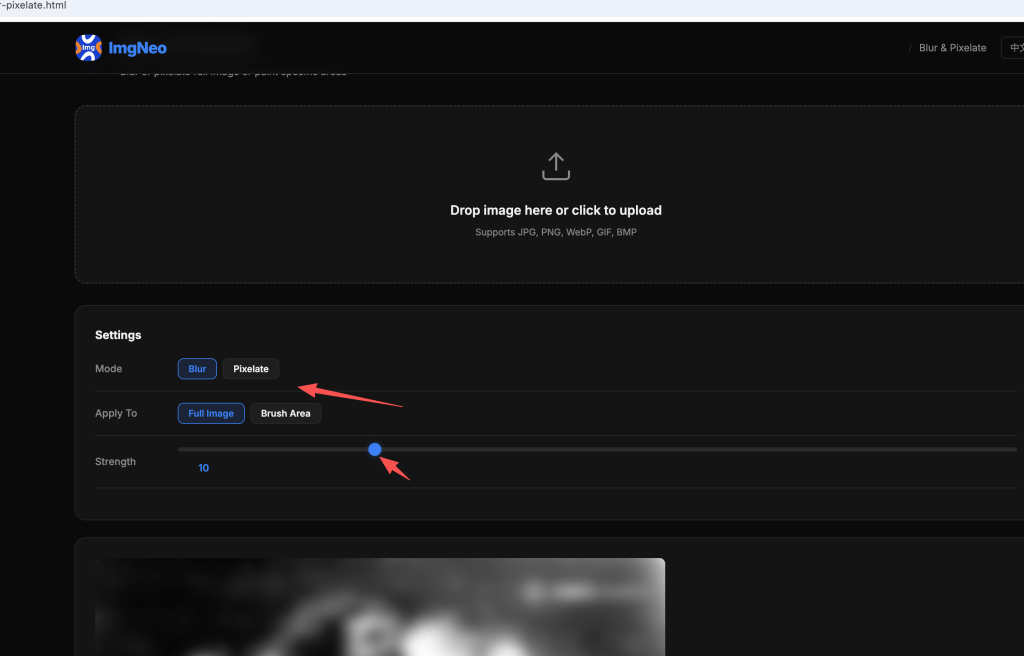
Step 3: Choose the Mode
| Mode | Effect | When to Use |
|---|---|---|
| Blur | Smooths details into a soft haze | Background softening, face anonymization, dreamy effect |
| Pixelate | Replaces detail with blocky squares | Classic censorship/mosaic look, retro pixel art effect |
Step 4: Choose the Apply Target
| Apply To | What It Does | When to Use |
|---|---|---|
| Full Image | Applies effect to the entire image | Dreamy background, artistic blur, full redaction |
| Brush Area | Paint the effect onto specific areas only | Faces, text, license plates, sensitive details |
Step 5: Adjust the Settings
Strength — Controls how strong the effect is:
- 1–5 — Subtle, barely noticeable. Light softening
- 6–15 — Moderate. Faces become unrecognizable, text becomes illegible
- 16–30 — Heavy. Strong blur or large pixels. Maximum privacy
Brush Size (for Brush Area mode only):
- 10–20px — Small areas like text, barcodes, email addresses
- 30–50px — Medium areas like faces, license plates
- 60–100px — Large areas like full backgrounds
Step 6: Download the Result
Click “Download Image.” The edited photo saves to your device — everything runs locally in your browser.
Common Use Cases
Redact personal info in screenshots — Brush pixelate over email addresses, phone numbers, API keys, or account numbers before sharing screenshots online. Pixelate is better than blur for text — it’s harder to reverse-engineer.
Anonymize faces in public photos — Brush blur or pixelate over faces of bystanders, children, or anyone who hasn’t consented. Required for GDPR compliance in some contexts.
Blur license plates — Brush blur over vehicle plates in street photography or accident documentation.
Soft-focus background — Brush blur on the background area while keeping the subject sharp. Creates a shallow depth-of-field look.
Full-image dreamy effect — Apply a low-strength blur to the entire image for a soft, romantic, or vintage feel.
Creative pixel art — Full-image pixelate with high strength converts any photo into a retro pixel-art style.
Blur vs. Pixelate — Which to Use?
表格
| Factor | Blur | Pixelate |
|---|---|---|
| Privacy strength | Good — details are softened but edges may be guessable | Stronger — blocky pixels destroy detail completely |
| Reversibility | Theoretically partially reversible with AI deblurring | Extremely hard to reverse — original data is replaced |
| Visual style | Smooth, natural, professional | Blocky, retro, “censored” look |
| Best for text redaction | Decent but can sometimes be read | Better — text becomes unreadable blocks |
| Best for faces | Natural-looking anonymization | Classic mosaic/censorship style |
| Best for creative effects | Dreamy, soft focus, tilt-shift | Retro, pixel art, 8-bit aesthetic |
For privacy and redaction, pixelate is safer. For creative effects, blur looks more natural.
FAQ
Is pixelation really irreversible?
For all practical purposes, yes. Pixelation replaces a block of pixels with a single average color, destroying the original data. Unlike blur (where AI can sometimes estimate original edges), there’s nothing to reconstruct from a pixelated block. Use pixelate for maximum privacy.
Can I undo after painting an area?
There’s no undo button. If you paint too much, re-upload the original image and start over. The original file on your device is never modified.
Does blurring reduce image quality?
In the blurred areas, yes — detail is intentionally destroyed. The unblurred areas remain at full quality. For full-image blur, the entire output is lower in detail by design.
Can I blur just the background and keep the subject sharp?
Yes — use Brush Area mode and paint the blur only on the background. This takes a steady hand for complex scenes but works well for simple separations (portrait against a wall, product on a surface).
What’s the difference between this and the blur in Image Filters?
The Image Filters tool applies blur uniformly to the entire image. This tool lets you paint blur or pixelate onto specific areas only — much more useful for privacy redaction and selective focus.
Is my image uploaded to a server?
No. All processing happens in your browser. Your images never leave your device.
More image tools from ImgNeo: Image Filters · Remove Background · Add Text to Image · Add Watermark · Crop Images